What is the GBVM? #
The GBVM is a virtual machine for the Gameboy and Gameboy Color, used by GB Studio. Every event you create in GB Studio is translated into GBVM instructions. You can make great games without ever touching the GBVM, but understanding what’s happening under the hood allows you to harness its full power when needed.
Why bother learning about it? #
While you can create amazing games without ever touching the GBVM, understanding the underlying mechanics is valuable. You’ll often encounter situations where you need to fight against GB Studio’s event system, creating complex loops and conditional chains. In these cases, the GBVM becomes your ally. What might take hours to implement in the event system can often be accomplished in just a few minutes with GBVM.
A real example #
Imagine we want a vertical menu that spans the full height of the screen. In GB Studio, we’d be limited to a horizontal menu at the bottom using Display Menu. With GBVM, we can create any kind of menu we want!
Step 0: Create a new script #
In GB Studio, let’s create a new event on the On Init trigger of our scene. We can do this by clicking Add Event -> Joypad Input -> Attach Script to Button. We’ll select the Start button for our input. Then for the On Press action, add a Miscellaneous -> GBVM Script. Now we can press the start button to trigger our script!

Step 1: Draw an overlay #
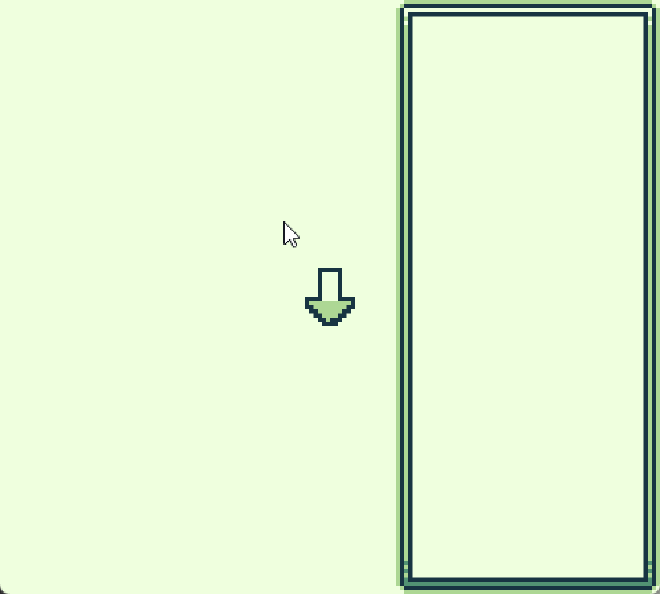
An overlay, if you’re not familiar, is a frame drawn on top of the game. It can be used for menus, dialog boxes, and other UI elements. We can show, hide, and animate it around the screen.
VM_OVERLAY_SHOW 12, 0, .UI_COLOR_BLACK, .UI_DRAW_FRAME ; Draw a frame at the right of the screen
GBVM instructions are written line by line, typically with a command like VM_OVERLAY_SHOW followed by a list of arguments. For VM_OVERLAY_SHOW, the arguments are:
- How many tiles to the right to draw the frame
- How many tiles down to draw the frame
- The color of the frame
- Special flags
In the example above, we’re drawing a frame 12 tiles to the right and 0 tiles down (creating a long vertical frame at the right of the screen), in black, with the special flag .UI_DRAW_FRAME, which uses the frame style selected in the UI Elements section of the GB Studio settings.
All of these options can be found on the GBVM operations page of the GB Studio documentation.
Step 2: Let’s write some text #
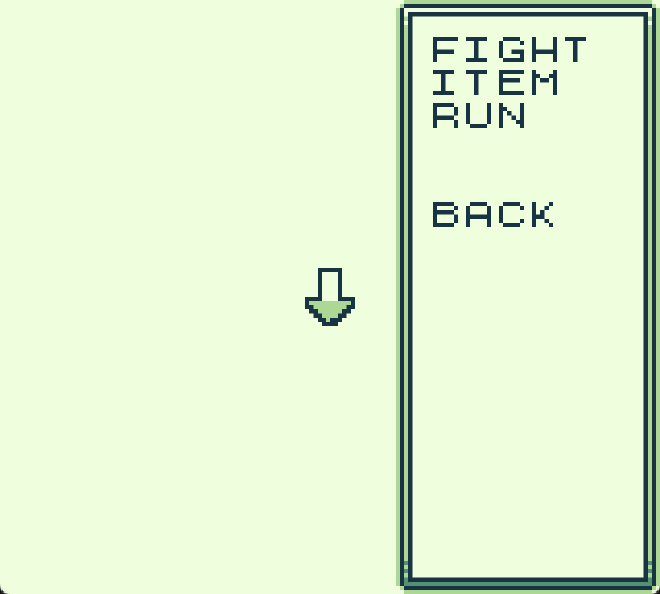
Now that we have our overlay visible, let’s add some text to it.
VM_LOAD_TEXT 0 ; Load the text, expecting no variables
   .asciz "FIGHT\012ITEM\012RUN\012\012\012BACK" ; This is the text
VM_DISPLAY_TEXT ; Display the text
This is a bit more complex, but we’ll break it down:
VM_LOAD_TEXT 0
This command tells GBVM that we’re about to provide some text. The 0 indicates that we don’t want to include any variables to fill in (we’ll cover that in a later tutorial).
.asciz "FIGHT\012ITEM\012RUN\012\012\012BACK"
The .asciz directive tells GBVM that we’re providing pure text that should be treated as a string, not a command.
There are special character codes that instruct GBVM how to handle the text. In our case, \012 means “write on a new line”.
VM_DISPLAY_TEXT
This command simply tells GBVM to display the text we’ve loaded. It’s a straightforward 3-step process: “We’re about to load some text, with no variables” -> “Here’s the text” -> “Display it on the screen”. Because we specified .UI_DRAW_FRAME when creating our overlay, the text automatically appears 1 tile down and 1 tile to the right, preventing overlap with the frame.
Step 3: Adjust our text #
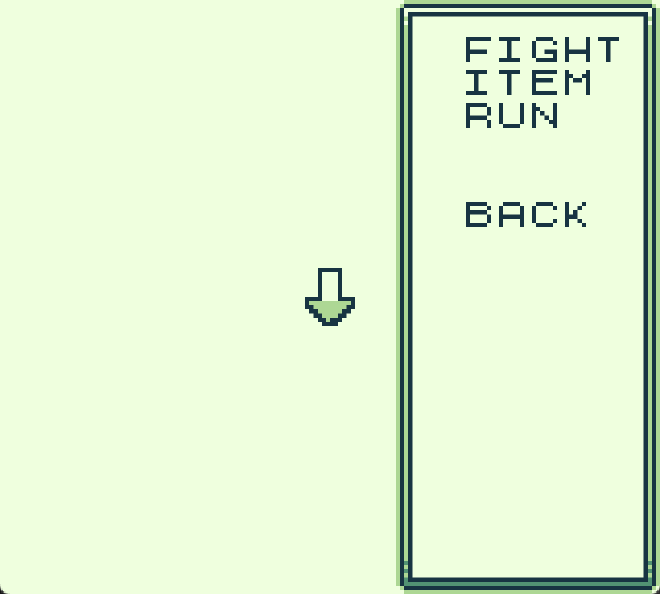
Our text currently sits just to the right of the frame, but we want it one extra tile to the right to make room for a future menu selection icon on the left column. Let’s adjust that:
VM_LOAD_TEXT 1
   .asciz "\003\003\002FIGHT\012ITEM\012RUN\012\012\012BACK" ; Load the text with a tile offset
VM_DISPLAY_TEXT
As mentioned earlier, special character codes can control how GBVM handles text. Here, \003\xxx\yyy tells GBVM we’re specifying a tile position of where to start writing the text. \003\003\002 means “Start writing at tile 3,2” (the top left would be 1,1 in this case). The automatic offset of 1 tile right and 1 tile down isn’t applied when we provide our own positional data, so we’re accounting for that here.
Now our text is properly aligned!
Step 4: Add our menu system! #
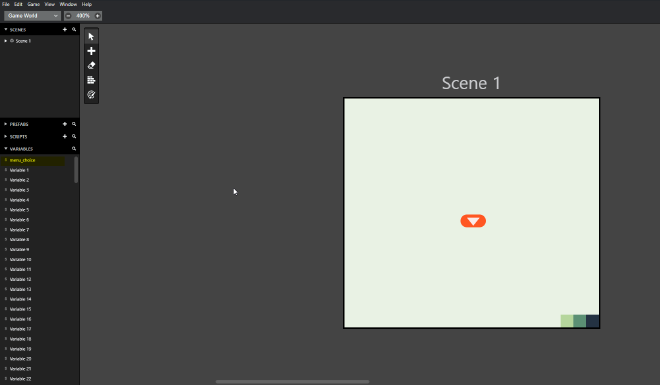
Before adding our menu, we need to create a variable to store the player’s choice. We can do this by renaming one of the 512 variables in the variable section of GB Studio. Let’s rename variable 0 to menu_choice.
VM_CHOICE VAR_MENU_CHOICE, .UI_MENU_STANDARD 4 ; Create a menu with 4 options
    .MENUITEM 1, 1, 0, 0, 0, 2 ; Menu Option 1
    .MENUITEM 1, 2, 0, 0, 1, 3 ; Menu Option 2
    .MENUITEM 1, 3, 0, 0, 2, 4 ; Menu Option 3
    .MENUITEM 1, 6, 0, 0, 3, 0 ; Menu Option 4
VM_OVERLAY_HIDE ; Hide the overlay
This gets a bit more complex, so let’s break it down:
VM_CHOICE VAR_MENU_CHOICE, .UI_MENU_STANDARD 4
This tells GBVM we want to create a menu choice (which displays a cursor and pauses everything else). VAR_MENU_CHOICE is the variable that will store the player’s selection (all referenced variables are prefixed with VAR_), .UI_MENU_STANDARD is the menu style, and 4 indicates we want 4 options. There are other menu styles available, but this is the most basic one.
.MENUITEM 1, 1, 0, 0, 0, 2
- This defines an option in our menu. The first two numbers are the x,y tile positions for the cursor, so in this example, 1 tile right and 1 tile down. Note that while in our text example, we used
\003\003\002to specify a tile position, here we’re using 1,1 as the tile offset. This is why we adjusted our text position in the previous step. - The next four numbers control menu navigation. Since we have 4 options, we need to tell GBVM where to go when the player presses any directional button. These values specify which option to select when pressing left, right, up, and down, respectively.
- In our example, the first two digits 0,0 tell GBVM not to change the selection when the player presses left or right. This makes sense for a vertical menu!
- The next 0 tells GBVM not to change the selection when the player presses up. Since we’re at the top of the list, this is logical. If we wanted the menu to wrap around, we could use 4 here to jump to the bottom option.
- The last number 2 determines what happens when the player presses down. In our case, we want to move to the next option in the list, which is option 2.
    .MENUITEM 1, 2, 0, 0, 1, 3
    .MENUITEM 1, 3, 0, 0, 2, 4
    .MENUITEM 1, 6, 0, 0, 3, 0
- The pattern continues for the remaining options. The first two remain at 1 tile right, but now 2 and 3 tiles down for the second and third options. The last option (“BACK”) is positioned 6 tiles down instead of 4 because we included three newlines (
\012\012\012) before it in our text. - The navigation values show that pressing up selects the previous option (e.g., pressing up on option 4 selects option 3), and pressing down selects the next option (e.g., pressing down on option 4 does nothing, hence the 0).
Let’s recap what just happened #
- When GBVM encounters a VM_CHOICE command, it pauses the game and waits for the player to make a selection. When the player confirms their choice, GBVM stores the option number in our VAR_MENU_CHOICE variable. If the player selects option 1, VAR_MENU_CHOICE will be set to 1; if they select option 2, it will be set to 2, and so on.
- The VM_OVERLAY_HIDE command hides the overlay when we’re done, returning to the game. This doesn’t happen immediately due to the pausing effect of the VM_CHOICE command.
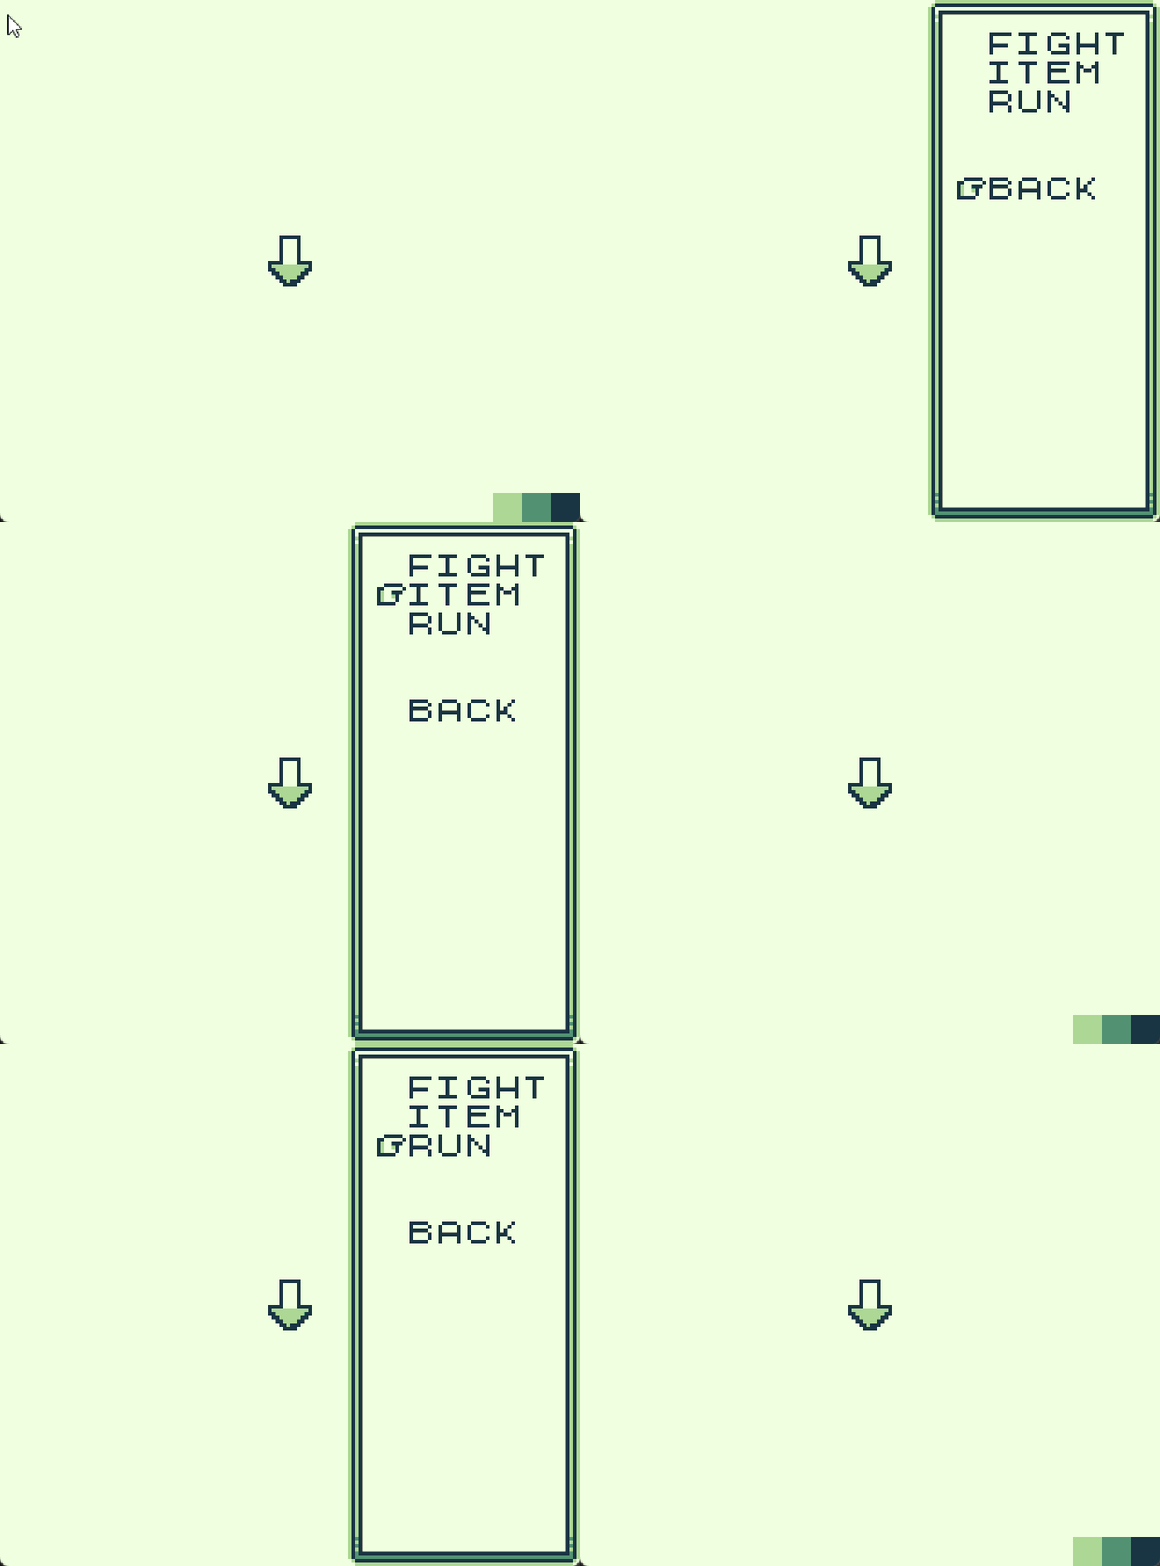
Our menu is now navigable!
We’ve learned how to create an overlay of any size and position, write text to it, and create a menu that stores the player’s choice. With just these few simple steps, we can create a wide variety of UI elements—from selection menus to status screens to dialog boxes! This demonstrates the power of GBVM compared to GB Studio’s preset event system. While we won’t always need to use GBVM, it’s valuable to know that when a built-in event doesn’t meet our needs, GBVM can help us accomplish our goals.
Going Further: #
In the next part, we’ll explore how to handle menu choices and build a more interactive menu system!

